DIY Camping Lantern Paper Bag Craft for Kids
DIY Camping Lantern Paper Bag Craft: Step-by-Step Guide
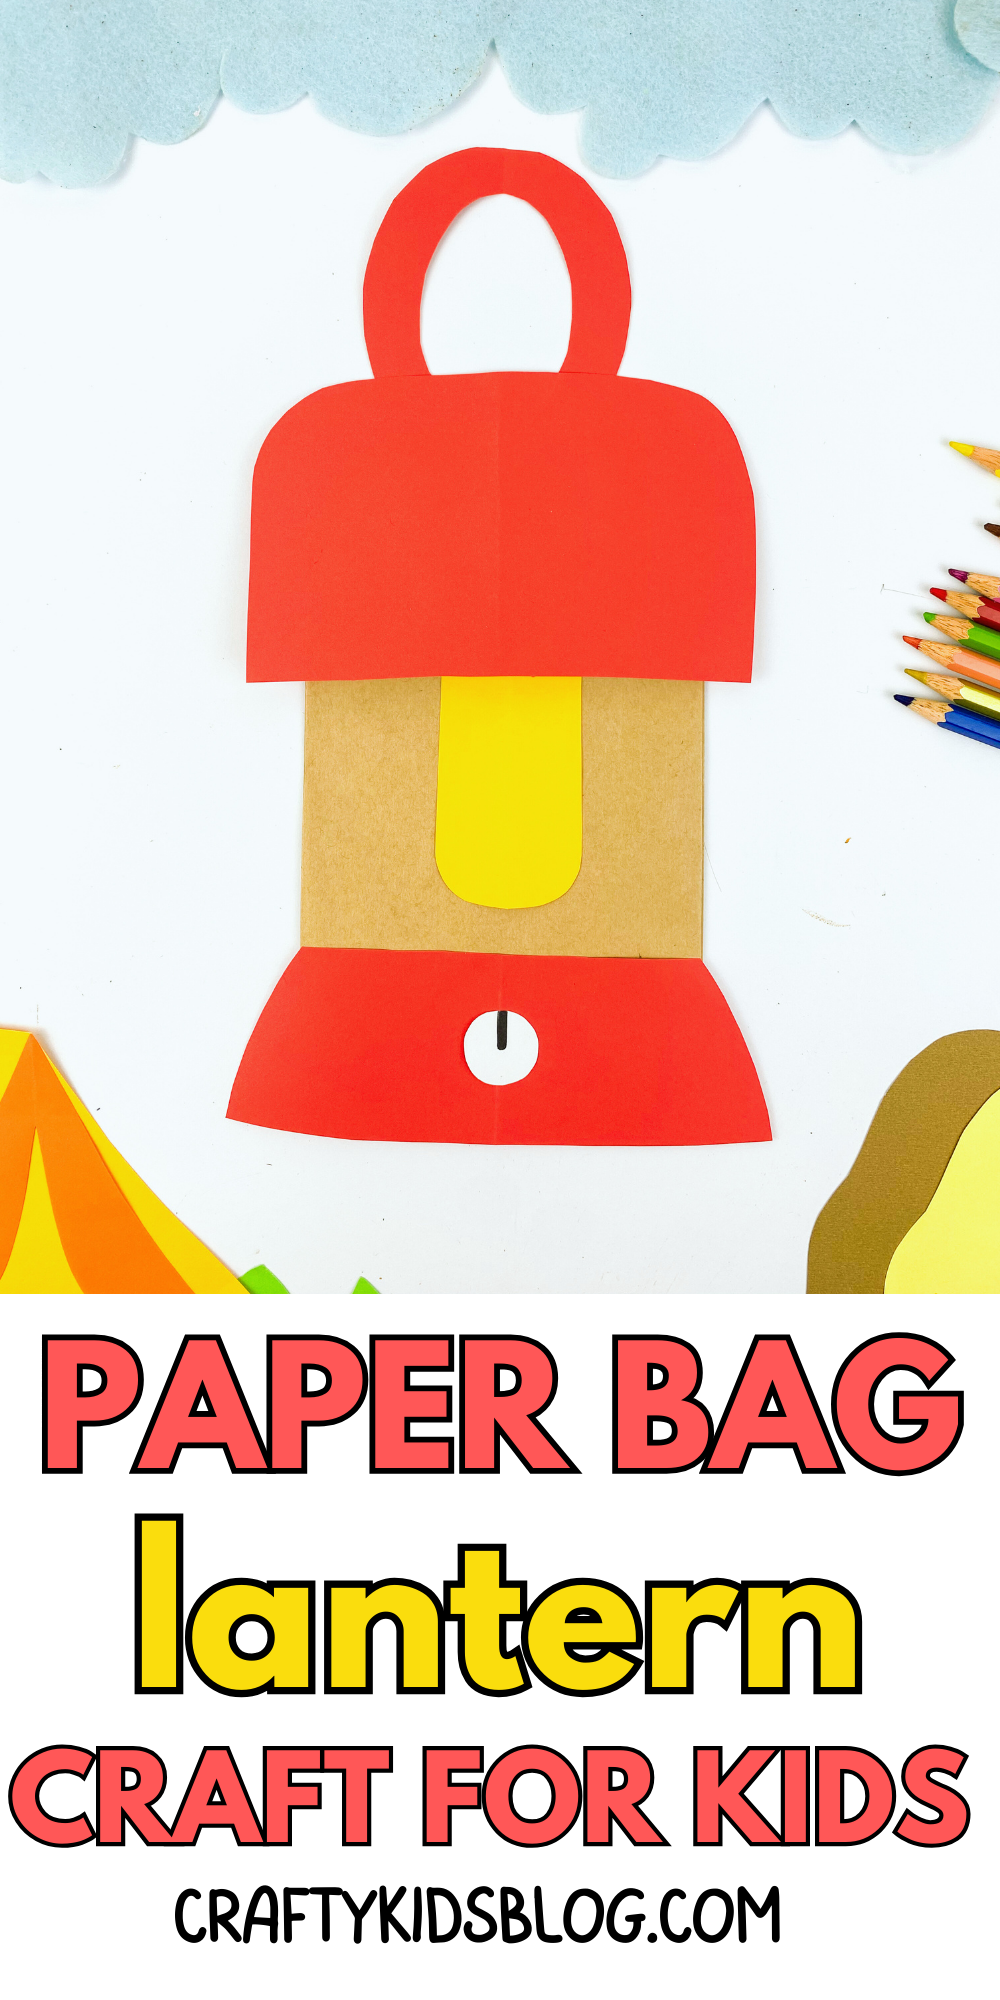
Ready to make a cute and creative paper bag lantern? This project is perfect for outdoor or indoor camping-themed fun. Below is a detailed guide on how to assemble your lantern using simple supplies like paper bags and construction paper. Gather your materials, and let’s get started on this camp craft.
Young readers will love preparing for a family camping trip by reading the best camping books on the market! Whether you are setting up your camp in your own backyard or headed on a big camping adventure outdoors, new experiences await! These favorite camping books will have your kids packing up their sleeping bags and packing the car for a road trip!

I invite you to join us in celebrating the magic of national parks through the eyes of children's literature. From the towering redwoods of California to the majestic peaks of the Rockies, each turn of the page reveals a new adventure waiting to unfold. These books serve as more than just stories; they are windows into a world teeming with diversity, beauty, and the boundless wonders of nature. I love using this perfect activity as a way to get young children excited about an upcoming camping trip!
This paper bag campfire craft is an excellent opportunity to encourage imaginative play. Not only can young kids make their very own campfire, but they can also use this camp fun craft as part of their camping-themed play at home. Whether you're using this fun kids craft to simulate a cozy campsite indoors on a rainy day or as a creative pre-camping activity, this easy craft is a great way to add a spark of fun to any day.

Simple Materials You’ll Need for this great camping craft:
As an amazon associate, I earn a small commission based on purchases made for this supply list on these affiliate links at no additional cost to you.

Paper bag: Brown paper bags works great for this craft.
Red and yellow construction paper: These will be used to create the decorative templates.
Scissors: To cut the templates and other shapes.
Double-sided tape: This will hold all the pieces securely without visible glue marks.
Marker: Used to draw designs and add details like switches.
White paper: A small piece will be used to make the lantern's "switch."
Flameless tea light - totally optional
Paper Bag Camping Step-by-Step Instructions:

Cut Out the Lantern Shapes
Cut the shapes onto the construction papers. Use red for the lantern pieces.

2. Assemble the Lantern Pieces
Now it’s time to assemble the pieces on the paper bag. Start by laying out all your cut shapes, so you know how you’d like to arrange them on the bag.
Use double-sided tape to secure the red templates first. Place the larger or outer shapes toward the top and bottom of the bag. Be sure to press firmly so the tape adheres well to the paper bag.
Tip: Work slowly when taping down the templates to avoid wrinkles or tearing.


3. Attach the Yellow Templates
With the red shapes attached, now it’s time to place the yellow template in the center of your lantern design.
Use double-sided tape again to attach these pieces. The yellow shape should fit inside the red flame, adding depth and color to your lantern.
This central piece will give your lantern its bright "glow" effect when you place a light inside the bag.


4. Create a Lantern Switch
To add a whimsical touch, you can create a small "switch" for your lantern.
Cut a small circle from a piece of white paper. Once cut, draw a small line across the center of the circle using your marker to create the illusion of a switch.
Attach the switch to the side of the lantern using tape, and now your paper lantern has a playful detail that makes it look even more realistic.


Finishing Touches
Once you’ve completed all the steps, your camping lantern paper bag craft is ready! You can place an LED tea light inside the paper bag for a warm glow (be sure to use a battery-operated light for safety). If you want to make multiple lanterns, experiment with different color combinations and template designs to create a variety of looks!

Ideas for Decoration & Customization:
Personalized Designs: Let kids draw their own shapes and cut them out to make their lantern unique.
Themed Lanterns: You can modify the colors and templates to match the theme of your camping trip or event—try greens and browns for a more natural, woodland feel.
Twinkle Lights: Instead of a single tea light, you can also place a small string of battery-operated fairy lights inside the paper bag for a twinkling effect.
Handles: If you'd like to hang your lanterns, attach a piece of string or twine by punching two small holes at the top of the bag and threading the string through.

Here are 10 creative waysto use your camping lantern paper bag craft at home or school:
1. Nighttime Reading Nook:
At Home: Create a cozy reading corner by placing a few paper bag lanterns around pillows or blankets. The soft glow from LED lights inside will make the space feel magical and relaxing for kids.
At School: Transform a classroom corner into a “reading cave” during quiet reading time. The lanterns can signal a peaceful, calm environment for students to read.
2. Camping-Themed Birthday Party Decoration:
Use the lanterns as decorations for a camping-themed birthday party. Hang them from trees in the backyard or scatter them around tables and tents for a fun ambiance.
3. Classroom Camping Day:
In School: For a themed day in the classroom, set up a faux campsite indoors with paper bag lanterns scattered around. Students can read stories or participate in lessons while pretending they’re at a campsite, adding an adventurous vibe to learning.
4. Outdoor Movie Night:
At Home: Arrange the paper lanterns in the backyard for an outdoor movie night. They can serve as soft lighting to guide people to their seats, creating a relaxing, outdoor-theater atmosphere.

5. Storytime by Lantern Light:
Turn off the main lights and tell spooky or imaginative stories with only the paper lanterns lighting the room. It’s a perfect setup for family nights or classroom group activities to encourage creative storytelling.
6. Lantern Walks or Parades:
At School: Have the students make their own lanterns and organize a lantern parade, where everyone shows off their creations in a dimmed room or outdoor space.
At Home: Organize a family “lantern walk” around the yard or neighborhood in the evening. It’s a fun and interactive way to get everyone outside for some fresh air while displaying their crafted lanterns.
7. Camping Indoors on Rainy Days:
At Home: Bring the outdoors inside by setting up an indoor campsite using blankets as tents, paper lanterns as campfire substitutes, and play camping games. Perfect for rainy days when outdoor camping isn’t an option!
8. Seasonal or Holiday Decor:
Change the lantern designs to match holidays or seasons (e.g., pumpkins for Halloween, snowflakes for winter). Use the lanterns as festive decorations around the home or in the classroom.
9. Creative Learning Tool:
At School: Use the craft to teach shape recognition, symmetry, or color mixing in an art class. Incorporate different lessons (like creating geometric patterns on the lanterns) into the activity.
At Home: Incorporate the lantern craft into lessons for younger kids on cutting, tracing, and assembling, helping to develop fine motor skills.
10. Nightlight for Kids' Rooms:
At Home: The lantern can double as a soft nightlight in your child’s room. The calming glow will help them fall asleep without being too bright, and it’s something they created themselves!
These ideas make the camping lantern paper bag craft a versatile and fun activity that can be enjoyed year-round, whether it’s for decoration, learning, or family bonding time with kids of all ages.

This paper bag lantern craft is a fantastic way to bring a cozy, glowing vibe to any camping event, whether indoors or outdoors. Not only is it fun and easy, but it’s also a great activity for kids and families to do together. Whether you're using it to decorate for a backyard camping night or as a fun project on a rainy afternoon, this lantern will surely light up your day! Happy crafting!
Be sure to enter your email address below to follow along on social media and get kids' crafts straight to your inbox all year long!